Page 3 of 7

Re: LIKKLEbit's 2004 sr5 build

PostPosted: Fri, 22 Jul 2011 4:28 +0000
by juzzo84
nice project

Re: LIKKLEbit's 2004 sr5 build

PostPosted: Sat, 23 Jul 2011 11:19 +0000
by csale
eMOJO wrote:Haha, nice work... did you get any air

hehehe... I'm happy to say no, i didnt get any air.

I did sadly get hung up on the apex of one of the jumps... now i have a benchmark to measure the clearance on when i put on the 33's

Miller wrote:ome mate! Next mod, goPro so you can film it! heheh

Thanks man

Luxasaurus wrote:Looks great, Wish i had a camera with me when i got mine off the ground at Mt walker (Harsh landing)That lux is looking real good

Ha, how's your spleen after your airing it out?

juzzo84 wrote:nice project

Respect

I'll be taking a few days off of work next week (finally) and using the opportunity to swap in the replacement transfer... I'll try to have some pics to share. Once that is done i'll feel properly manly with a working 4wd!

Re: LIKKLEbit's 2004 sr5 build

PostPosted: Thu, 25 Aug 2011 11:47 +0000
by csale
Just an update of no update at all... Sadly the transfer case i got was a mismatch... the input shaft splines on the current counted 22 while the replacement was 24. My search continues....

On the otherhand I ordered a set of ready made sliders! will fab up frame mounts. Although i have no certification or engineer requirements in Jamaica i'd rather not weld the chassis. Will have brackets fabbed up some time soon, but will not install until after i do the body lift.

LIKKLEbit's 2004 sr5 build

PostPosted: Thu, 01 Sep 2011 5:55 +0000
by eMOJO
The input shafts should be interchangeable... just need to pull both cases down to replace


Sent from my iPhone using Tapatalk

Re: LIKKLEbit's 2004 sr5 build

PostPosted: Thu, 08 Sep 2011 1:33 +0000
by csale
eMOJO wrote:The input shafts should be interchangeable... just need to pull both cases down to replace


Sent from my iPhone using Tapatalk


So your saying there is no difference in gearing?
We also noticed that the "replacement" had an extra electronic sensor. I haven't been able to find any helpful info on the transfer boxes yet.

Body lift done!

PostPosted: Mon, 26 Sep 2011 10:34 +0000
by csale
Got my body lift in :D
Now to fix the bumper gap and sort out the gear shifter... For now i've removed the plastic finishing piece for the interior. there's still some resistance though not too bad to knock it out of 2nd, 4th, or reverse. I think i will be doing some reshaping in the form of manipulation via hammer or vice.

I got in some sliders that should have been installed the same day but the welder showed up way too late, so those should be finished up in 2 or three weekends from now.

Heres a pic beside a stock dodge ram... same roof and bonnet height. You should also notice that the chrome is slowly disappearing ;) :
Image

LIKKLEbit's 2004 sr5 build

PostPosted: Tue, 27 Sep 2011 4:39 +0000
by KTM525EXC
The lux is sitting nice and tall now :twisted: now all she needs is bigger wider rubber

Re: LIKKLEbit's 2004 sr5 build

PostPosted: Tue, 27 Sep 2011 9:29 +0000
by Tuff.Lux
nice work mate 8-)

wheres all the bling going?

Re: LIKKLEbit's 2004 sr5 build

PostPosted: Wed, 28 Sep 2011 6:31 +0000
by csale
I wish the bling were turning into cash for my tyres :geek:

I have some 16X8 wheels that should be in my hands within 2 weeks, then the rubber: Maxxis bighorns... Figure its the best choice for me because its locally available, and reviews are that its a pretty darn good tyre.

Re: LIKKLEbit's 2004 sr5 build

PostPosted: Sun, 02 Oct 2011 4:46 +0000
by csale
Today i sorted the bumper gap...

Image

Re: LIKKLEbit's 2004 sr5 build

PostPosted: Sun, 02 Oct 2011 6:06 +0000
by kailux
Looking good mate. It will look a heap better once you get that bigger rubber under it ;)

Sliders on!

PostPosted: Sun, 30 Oct 2011 10:38 +0000
by csale
Sliders installed yesterday :D

Image

Image

Image

Re: LIKKLEbit's 2004 sr5 build

PostPosted: Mon, 31 Oct 2011 10:36 +0000
by eMOJO
Nice work... now to get some colour on them ;)

Re: LIKKLEbit's 2004 sr5 build

PostPosted: Fri, 04 Nov 2011 7:00 +0000
by rwnslux
hey mate, sweet rig. where did you get the sliders from?

Re: LIKKLEbit's 2004 sr5 build

PostPosted: Sat, 05 Nov 2011 5:40 +0000
by csale
rwnslux wrote:hey mate, sweet rig. where did you get the sliders from?


Thanks! They are by Trail Gear and I got em off frontier4x4.com

Re: LIKKLEbit's 2004 sr5 build

PostPosted: Wed, 21 Dec 2011 11:18 +0000
by csale
New tyre/wheel time! Summit racing 16x8 steel's and Maxxis bighorns 285/75/16. You'll see in one of the pics how much trimming of the mud flaps I did... I wonder what to do to fill that space and offer some protection?

Image

Image

Image

Trimming done:
Image

Out at the MX track, got a little hung up:
Image

Re: LIKKLEbit's 2004 sr5 build

PostPosted: Wed, 21 Dec 2011 3:15 +0000
by Miller
csale wrote:Out at the MX track, got a little hung up:
Image


Yeah because I totally haven't been in that situation at all :oops:


Looks good mate!

Re: LIKKLEbit's 2004 sr5 build

PostPosted: Wed, 21 Dec 2011 7:08 +0000
by Stu494
Nice lookin lux mate! 8-)

Re: LIKKLEbit's 2004 sr5 build

PostPosted: Wed, 04 Jan 2012 7:11 +0000
by rwnslux
car looks so tuff now mate!

Re: LIKKLEbit's 2004 sr5 build

PostPosted: Tue, 17 Jan 2012 6:53 +0000
by csale
I got a sweet update on my rig... 4wd issue resolved! I fixed it myself on thursday night in my driveway by pulling down the electronic t/case actuator and correcting the stuck gear.
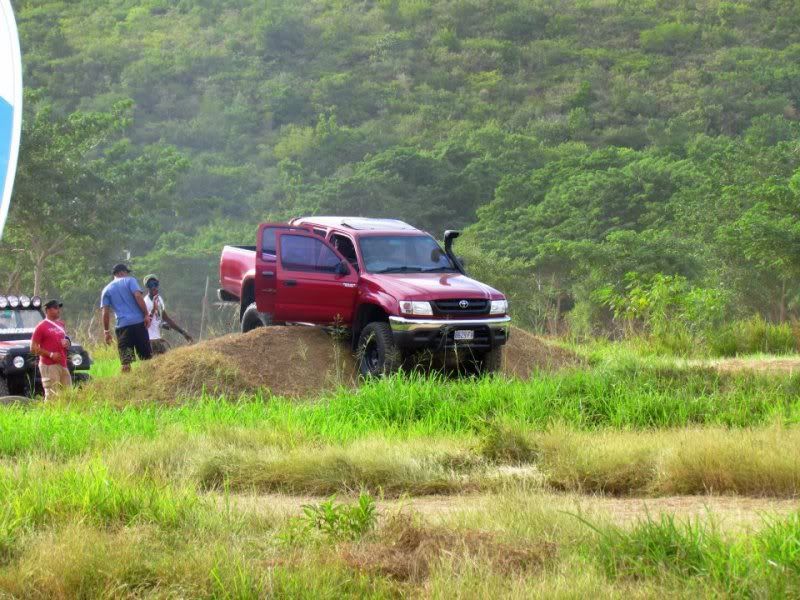
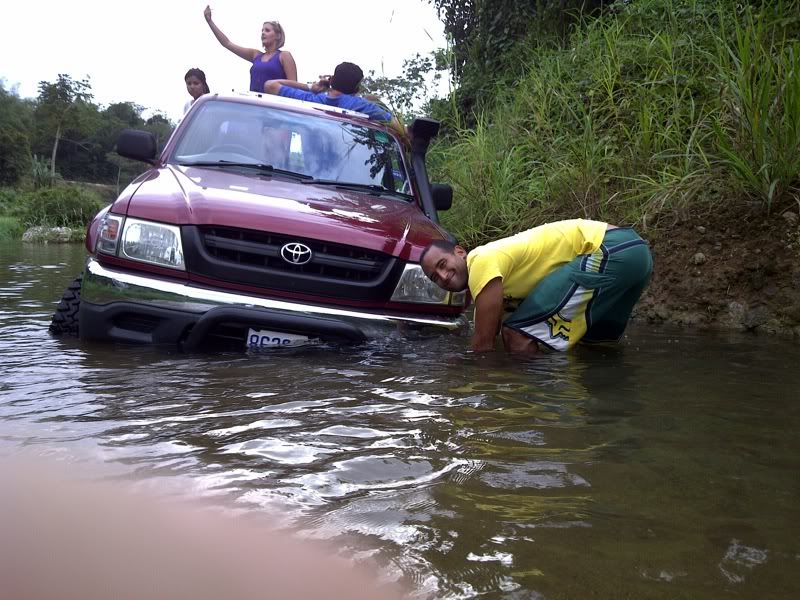
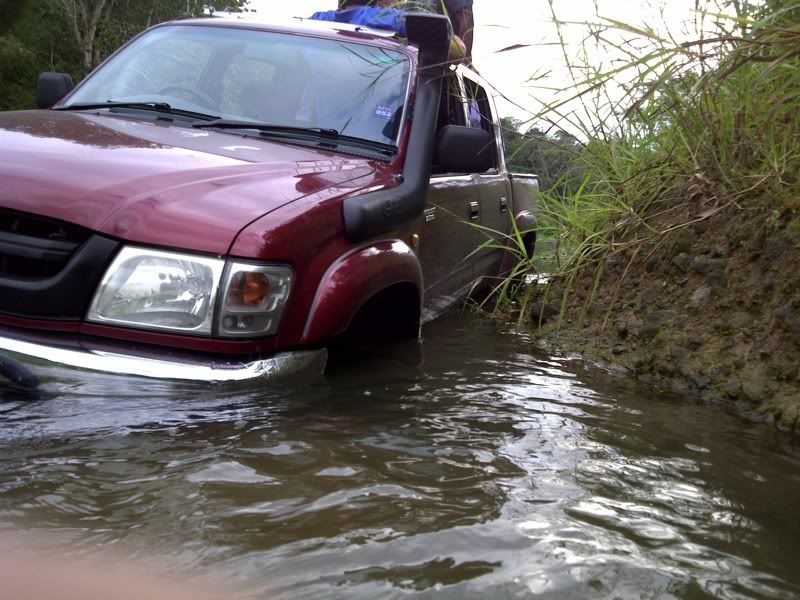
Naturally I put it to the test at the first chance (This past saturday). I am certain the only reason i got stuck was poor line choice and terrible technique. I entered the water in 4H and stopped to put her in 4L and of course couldnt get anywhere. Then of course only the drivers rear and the passengers front wheel spun as they were first to loose traction in the loose sand / gravel. We had a tractor pull me out after about an hour of trying to place larger river stones under the wheels with varying results.

Image
Image
Image


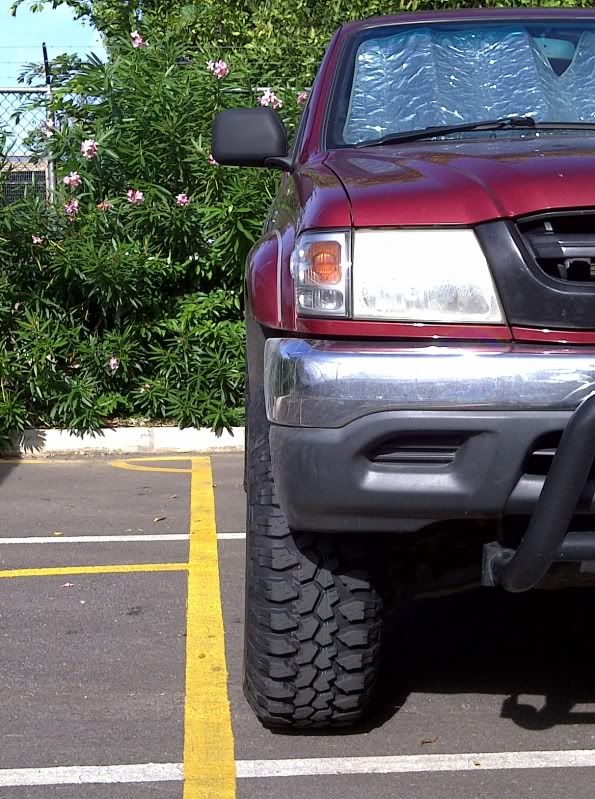
Then yesterday (sunday) while the interior was drying from splashing in the river i installed my BJ spacers.
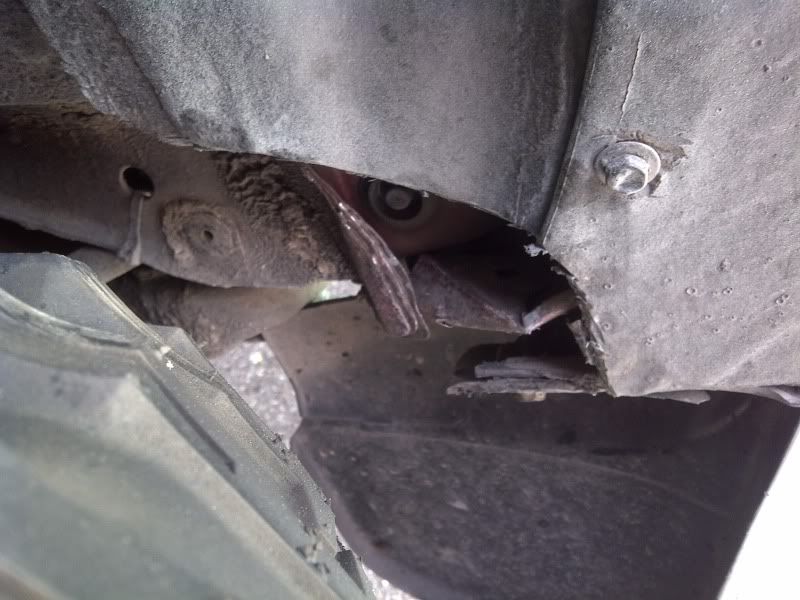
Grinding:
Image

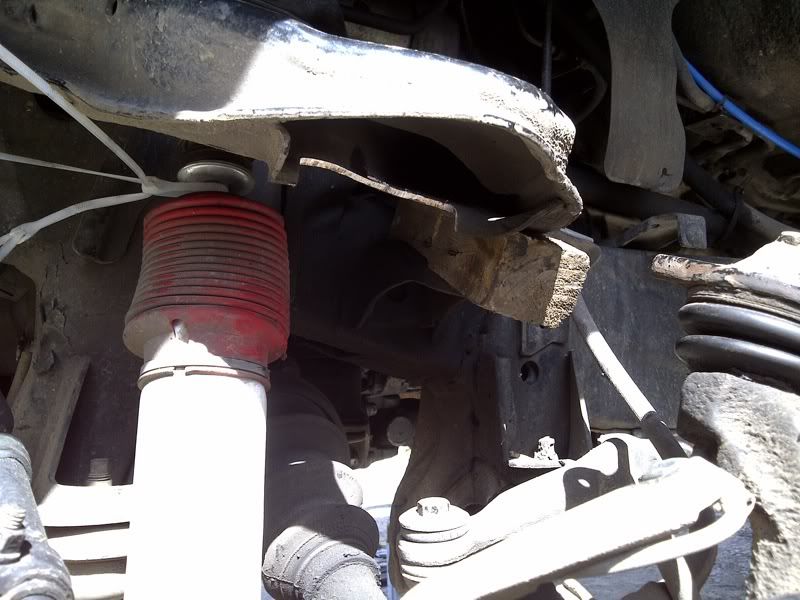
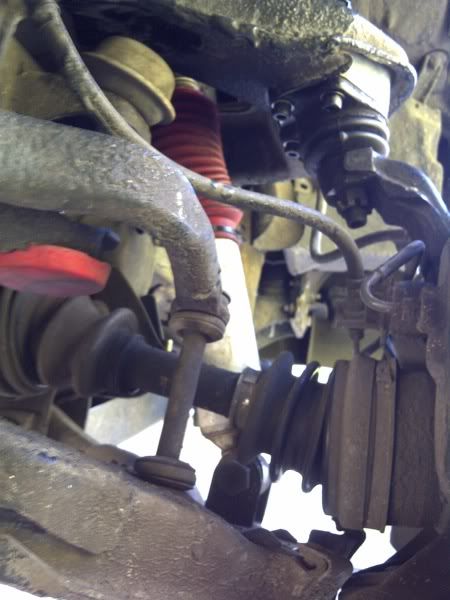
Note the bumpstops: I believe my shock is too short and is limiting the droop before resting on the standard bumpstop, so i moved the standard (beefy) lower bumpstop up to the top and put the low profile (red) bumpstops to limit the uptravel.
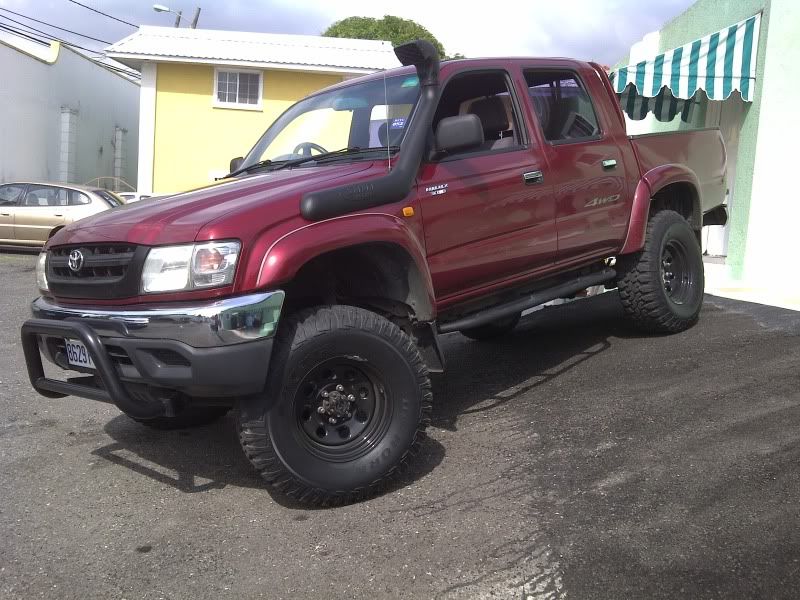
Image


Complete:
Image


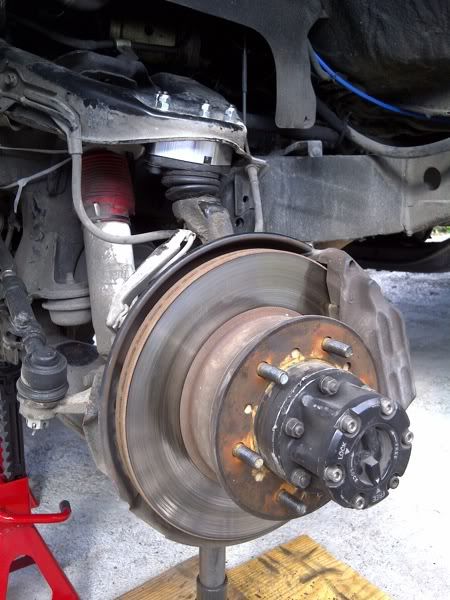
Alignment time now! The camber was of course very off (positive).

Ride feels less harsh and i will have to play around with the spacers and flex till i am happy....